
Senior dog travel · rear-seat setup
How to set up a rear seat for a senior dog car trip
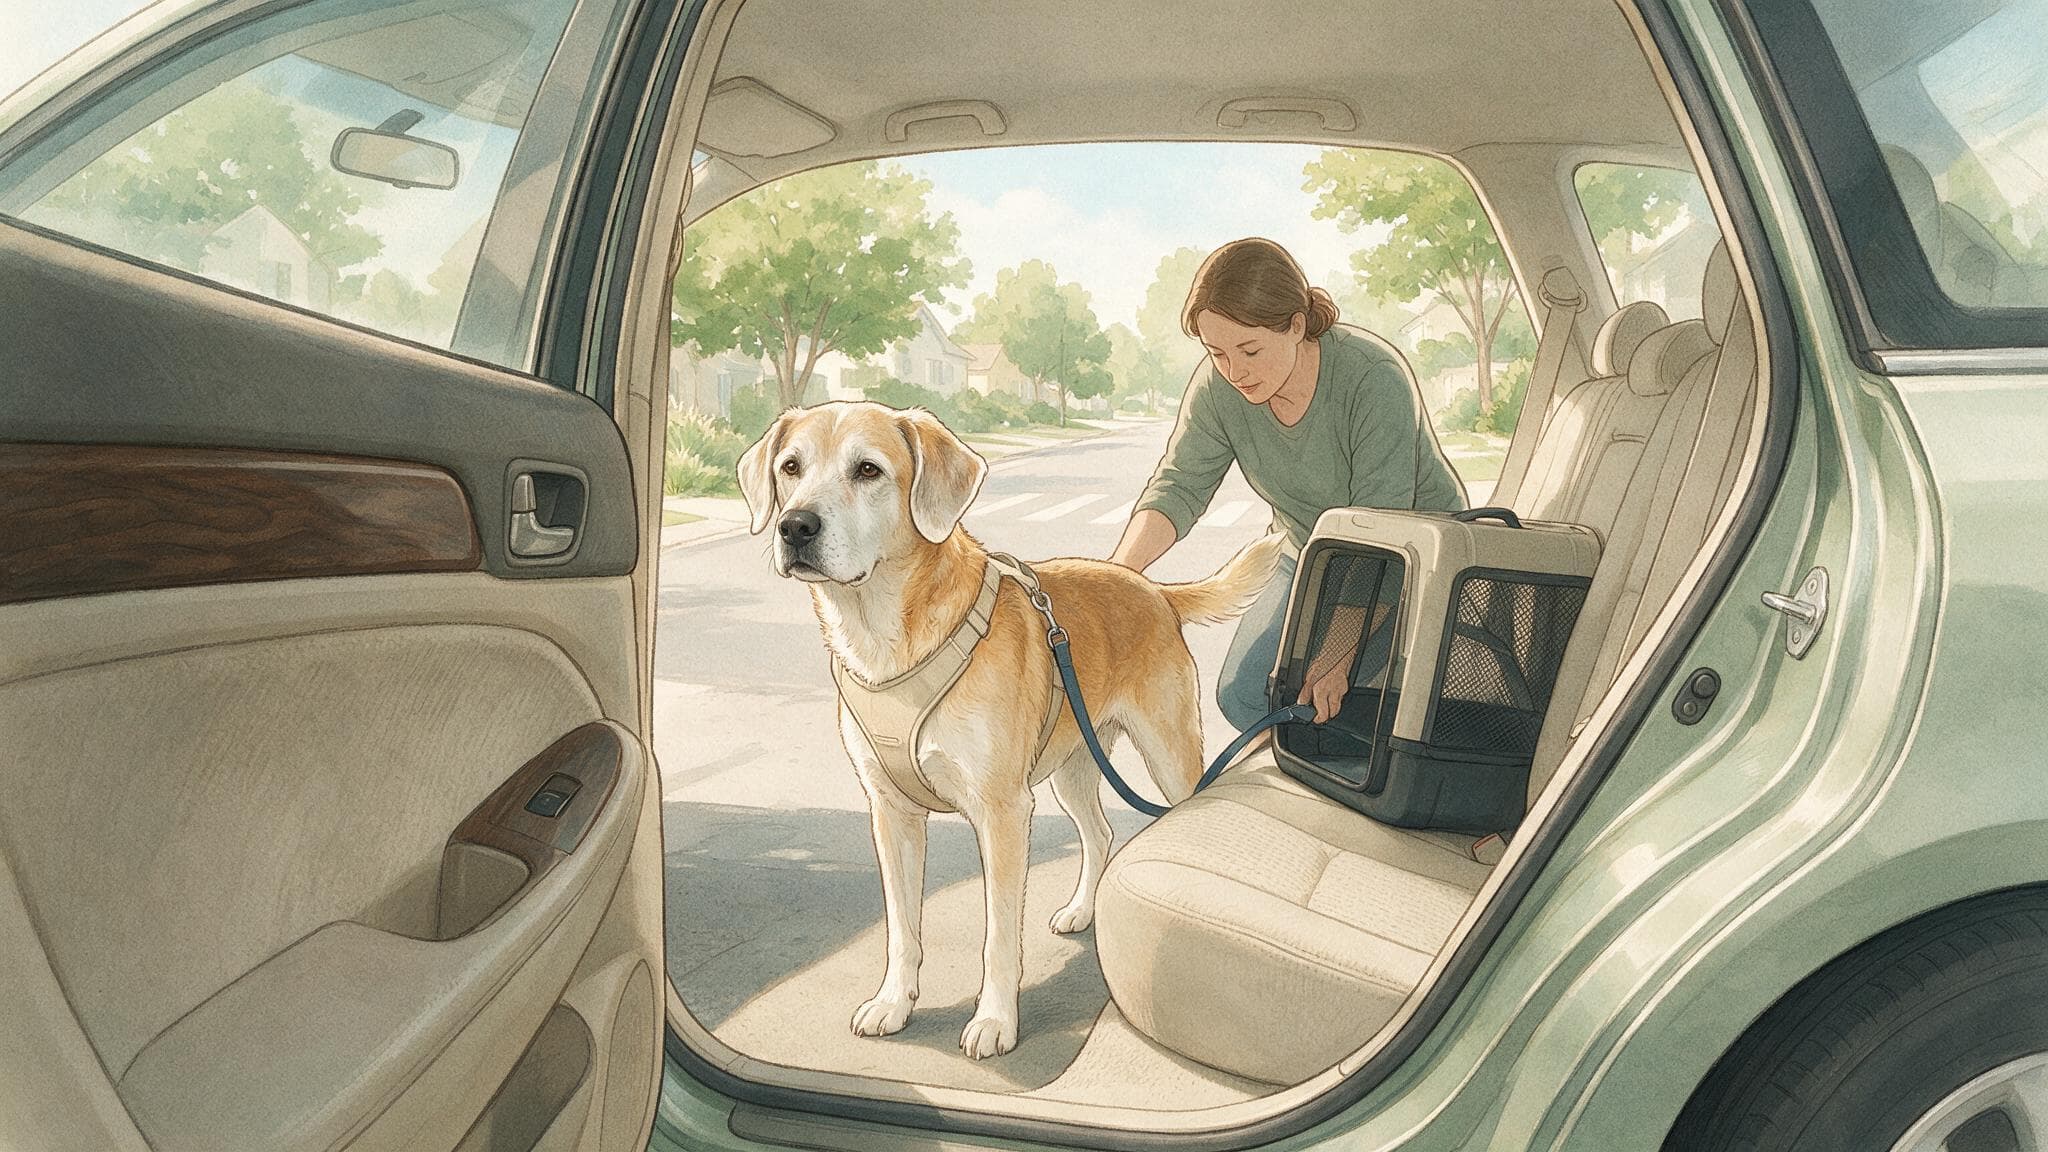
Start with one documented rear-seat restraint or secured travel crate, then build the rest of the zone around that fixed route. Clear loose objects, keep the boarding path stable, add footing only where it does not change the installation, and rehearse entry and settling while the car is parked.
Treat collision protection, mobility support, and comfort as three separate jobs. A soft surface or calm dog does not prove crash protection, and a restraint does not solve a painful step into the vehicle. Never leave the dog unattended in the car.
Start with the restraint, not the blanket
Cornell advises restraining dogs during car travel instead of allowing them to move freely through the cabin. Use the exact system's instructions and the vehicle manual; this page cannot supply a universal anchor, buckle route, or crate orientation.
The next layer is mobility. VCA discusses reducing difficult jumps and supporting stable ordinary travel for mobility-limited dogs. That guidance does not turn a ramp, support harness, mat, or lying position into collision protection. Keep each claim attached to the job it actually addresses.
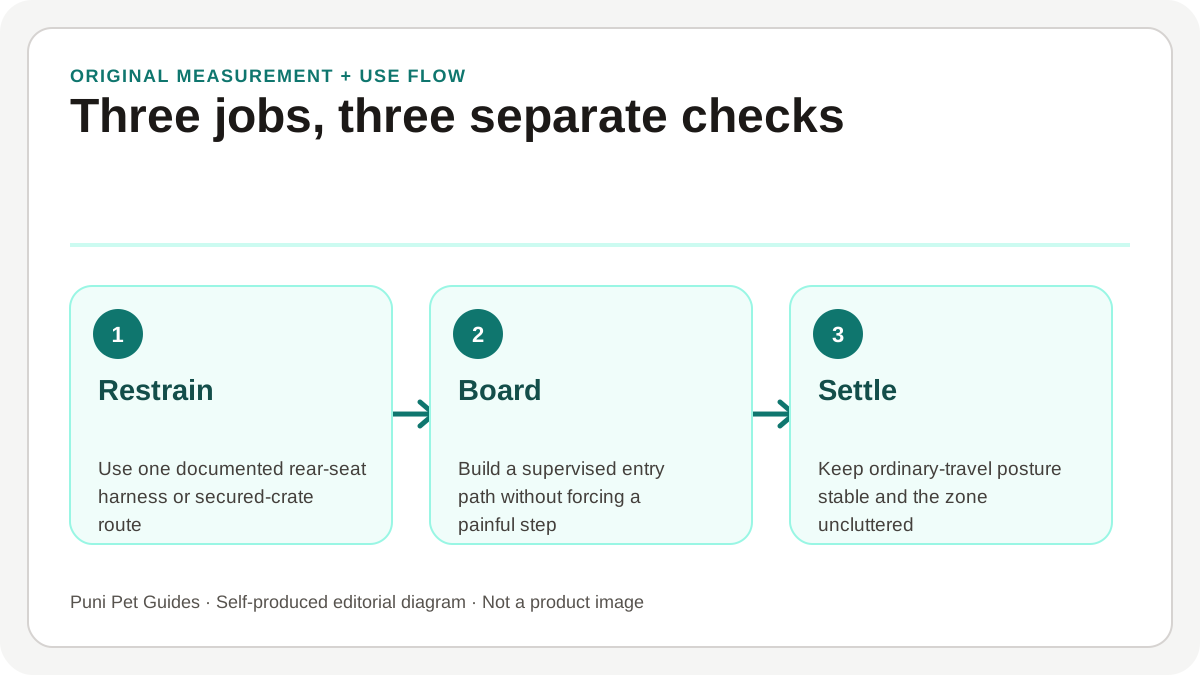
Three jobs need three separate checks
A setup can pass the boarding check and still fail the restraint check. It can feel comfortable while leaving loose hazards in the cabin. Review each layer on its own before deciding the zone is ready.
Research notes
Sources behind this guide
Written and source-checked by Puni Pet Guides Editorial Team · Reviewed Sep 2, 2026
This guide synthesizes the public references below; it does not report hands-on product testing or independent veterinary review.
Review scope: practical context, source traceability, and clear non-diagnostic boundaries. Diagnosis and treatment decisions stay with veterinarians.
Parked-car audit
Work outward from the fixed restraint route
Keep the car parked through all five checks. If a comfort item or access aid changes the documented restraint installation, remove it and solve that conflict before the dog travels.
- Restraint route
Fix the documented route before adding comfort items
Install one crash-tested restraint system or secured travel crate in a compatible rear-seat position, following its current instructions and the vehicle manual. Confirm the named attachment point, routing, orientation, and body positions before placing a mat or blanket nearby. Testing language is not a guarantee; check what evidence supports the exact system.
Do not improvise a buckle path, anchor, tether length, or crate tie-down. A pad cannot correct an undocumented installation.
- Doorway
Plan entry and exit before the dog approaches
Park on level ground, clear the door swing, and decide which handler controls the dog and which hand controls the door. Have the leash ready before the door opens. If the step is difficult, solve that supervised access route separately rather than pulling the dog in by the restraint.
A ramp or support harness may help an individual dog, but it must not block the restraint route or become an unsupervised jump-off point.
- Resting surface
Add stability only where the installation allows it
Give the dog enough clear space to use the sitting or lying positions allowed by the restraint or crate instructions. A stable surface may help ordinary-travel posture, but it should stay flat and should not cover a buckle, twist a strap, change crate contact points, or bunch under the dog.
Comfort and crash protection are different claims. Softness does not show that the setup will protect a dog in a collision.
- Cabin hazards
Clear what could slide, swing, or distract
Remove loose bottles, bags, tools, rigid toys, and other objects from the dog's travel zone. Keep the driver footwell and front-seat controls clear. Secure any necessary item outside the dog's reach rather than wedging it beside the restraint.
The dog should not be able to roam toward the driver. Long extension tethers and zipline-style setups can add movement without proving collision protection.
- Temperature and exit
Prepare the whole trip, not only departure
Check the cabin before loading, keep airflow appropriate during travel, and know where the dog can exit onto stable ground at the destination. Never leave the dog alone in the vehicle, even for a short errand or on a mild day.
This page does not provide a safe parked time or temperature threshold. The unattended-car rule is simpler: the dog does not stay behind.
Rehearsal
Let the parked car reveal the weak point
Do not use appointment-day urgency as the first full test. Practice briefly, stop when the setup or the dog's response changes, and increase travel only as the dog tolerates it.
- 01
Door open, engine off
Walk through the supervised entry and exit route without a departure deadline. Watch for a blocked turn, a high step, slipping, or a strap catching on the seat or door frame.
- 02
Door closed, car still parked
Confirm that the dog can use the allowed resting position, breathe normally, and remain clear of the driver. Recheck every buckle, crate attachment, loose item, and folded edge.
- 03
A short first drive
Increase travel gradually according to the dog's response. A quiet parked rehearsal does not guarantee a calm moving trip, so stop and reassess rather than pushing through a worsening response.
Stop the setup when the dog cannot continue comfortably
Stop if your dog cannot enter, turn, or settle without being forced, repeatedly slips or falls, or shows continuing panic, drooling, or vomiting. Contact the veterinary team about a new or worsening mobility change or continuing travel distress; rearranging the rear seat cannot identify the cause. Seek urgent care when your dog appears to be in immediate danger.